Despite the many alternatives to WordPress that are now available, there are a few reasons why it remains by far the most popular website building and hosting solution. It is easy to set up, easy to learn, and (at least in its most basic form) completely free.
Unfortunately, it’s that very ease of use that can make WordPress a source of cybersecurity vulnerability. Because the system does such a good job of hiding complexity from its users, it can be easy to overlook what’s happening “under the hood” and leave yourself (or your data) open to exploitation.
Thankfully, there are some fairly easy ways that WordPress users – even those with little or no knowledge of the complexities of the way that web hosting works – can use to protect themselves. And in this article, we’ll take you through them.
1. Install a Backup Plugin
The first and most important tool that novice WordPress users should make use of is a backup plugin. By now, we’re all (hopefully) aware of how important backups are for our personal data – largely because our laptops keep reminding us of the fact. But backing up a WordPress site is something far fewer people are comfortable with.
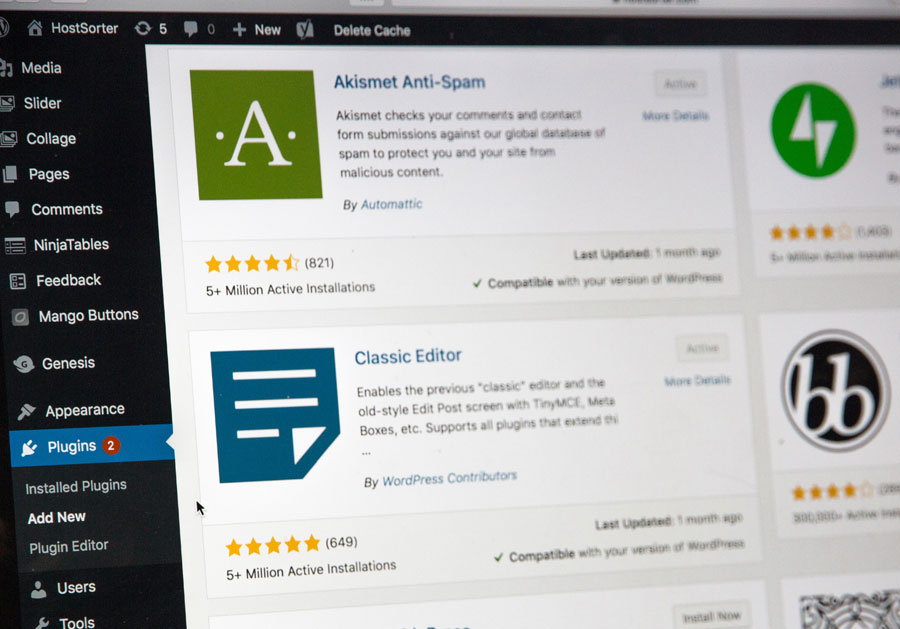
Backing up your WordPress site is actually fairly easy, but you will need to install a backup plugin. Popular options here include UpdraftPlus or BlogVault, both of which will ensure that your data is still accessible even if your site is compromised. Most plugins of this type allow you to schedule a backup, and even specify where this should be stored, so that you can set it and forget it.
Just be aware, however, that not all storage media are created equal. Most users turn to a public cloud service like Google Drive to store their backup, but this option comes with some privacy concerns – such as the fact that Google can see your data and has been known to use it to target marketing at you. The reality is you don’t have to be a slave to the Google ecosystem. In 2021, there is plenty of alternative software that allows you to accomplish all the tasks of your favourite Google service – and keep your privacy intact. If enough people go this route, Google might take customer privacy more seriously.
2. Install a Security Plugin
A great second step to take to protect your WordPress website is to install a wide-spectrum security plugin. These are innovative products that essentially automate many of the processes and steps that a pro user would take after setting up a WordPress website for the first time. These include technical items such as locking down PHP databases, as well as monitoring how your website is being used in order to identify threats.
One of the most popular of these plugins is Sucuri Scanner. This plugin monitors several key metrics on your WordPress site that can indicate a potential security threat – such as the number of failed login attempts, or whether important configuration files have been changed. Not only does this protect your data, it might also protect your revenue by making sure that your payment systems are secure.
3. Enable Web Application Firewall (WAF)
The third step to take after installing WordPress is to make sure that your site is protected behind a firewall. A Web Application Firewall works in much the same way as the firewall that you have (or should have) on your home computer – it looks at the incoming and outgoing connections to your site and blocks those that are not trusted.
Firewalls are important for all websites – whether they run on WordPress or any other system – because they can stop malicious traffic before it even gets to your site.
When it comes to WAFs, you have two options to consider:
- DNS Level Website Firewall – These firewalls route your website traffic through their cloud proxy servers. This allows them to only send genuine traffic to your web server.
- Application Level Firewall – These firewall plugins examine the traffic once it reaches your server but before loading most WordPress scripts. This method is not as efficient as the DNS level firewall in reducing the server load.
Both of these types of firewall can be installed via a plugin, in much the same way as the steps we’ve described above. Which you choose should depend on the size of your site – smaller websites will generally use a DNS level firewall and larger sites an application level firewall.
4. Move Your WordPress Site to SSL / HTTPS
By default, your WordPress website will be set up to use HTTP. This is the standard protocol for transferring information across the internet, but there is a more advanced (and more secure) option available – HTTPS. In order to use HTTPS, you will need to get an SSL certificate and install it on your site. Some web hosts include an SSL certificate as part of your hosting plan. If your hosting company does not offer it, you can purchase one from a site like Domain.com.
With the certificate installed, your site is more secure since all connections to and from it are encrypted. Having a SSL-enabled site also improves the visibility and profitability of your site, because many browsers now issue a security warning for web sites that are not protected in this way, which can scare potential visitors off and cost you a sale.
The Bottom Line
It’s important to work through these steps when you first set up your WordPress site, but don’t stop there. One of the best things about WordPress is that there is always more to learn. It can be a rewarding experience to learn how to secure your own site. Once that is done, you might be interested to dive into some of the ways you can tweak your site to make it look better. WordPress is famous for allowing user control over a variety of options – something as simple as adding custom fonts to your website can increase visitor interest and help take your business to the next level.


